Upgrading your kitchen faucet doesn’t have to be overwhelming. With the right tools, a little patience, and a clear plan, you can transform your kitchen without calling a plumber. Whether you’re swapping out an old faucet or installing one for the first time, this guide will walk you through the process step-by-step. Let’s dive in!
Contents
Choosing the Right Faucet for Your Kitchen
Before getting started, it’s essential to pick the right faucet. With so many options, it’s easy to get overwhelmed. Here’s what to consider:

Types of Faucets
- Single-handle: Easy to use and install, and great for compact spaces.
- Double-handle: Provides precise control over hot and cold water.
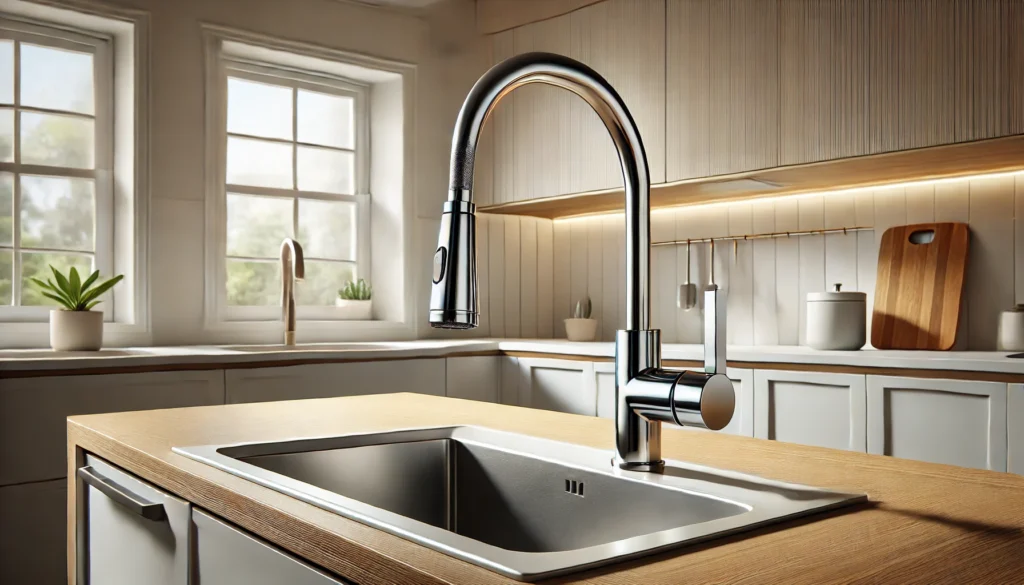
- Pull-down or Pull-out: Convenient for washing dishes and filling large pots.
Check Your Sink
Look under your sink to see how many holes it has (usually 1 to 4). Make sure your faucet matches this setup or consider buying a deck plate to cover unused holes.
Style and Features
Do you want a basic faucet or one with advanced features like touchless operation or a built-in sprayer? And, of course, make sure the faucet matches the style of your kitchen.
Tools and Materials You’ll Need
Here’s a quick list of tools and materials to have on hand:
Tools:
- Adjustable wrench
- Basin wrench (helps with those hard-to-reach nuts)
- Screwdrivers
- Towels and a bucket
Materials:
- New faucet
- Plumber’s tape (for sealing connections)
- Silicone or plumber’s putty (to seal around the base)
- Supply lines (if the old ones need replacing)
Step-by-Step Installation Process
Ready to roll up your sleeves? Let’s go!
Turn Off the Water Supply
- Locate the shutoff valves under your sink and turn them off.
- Open the faucet to release any water still in the lines. Place a bucket underneath to catch any drips.
Remove the Old Faucet
- Disconnect the water supply lines using an adjustable wrench.
- Use a basin wrench to loosen the mounting nuts holding the faucet in place.
- Once removed, clean the area to get rid of any grime or putty residue.
Assemble the New Faucet
- Follow the manufacturer’s instructions to put your faucet together.
- If the faucet has threaded connections, wrap them with plumber’s tape to prevent leaks.
Install the Faucet
- Insert the faucet into the sink holes. If needed, apply silicone or putty under the base to prevent water from seeping in.
- Secure the faucet by tightening the mounting nuts underneath. Use a basin wrench if space is tight.
Connect the Water Supply Lines
- Attach the water lines to the faucet and shutoff valves. Make sure the hot and cold lines are connected correctly.
- Tighten the connections, but don’t overtighten – you don’t want to damage anything.
Test Your New Faucet
- Slowly turn on the water and check for leaks around the base or connections.
- If everything looks good, turn on the faucet and enjoy the water flow!
Troubleshooting Common Problems
Sometimes, things don’t go perfectly on the first try. Here are a few common issues and how to fix them:
- Leak at the Connection: Wrap the threads with plumber’s tape and reattach the supply line.
- Loose Faucet: Double-check the mounting nuts and tighten them.
- Low Water Pressure: Remove and clean the faucet’s aerator to ensure it’s not clogged.
Tips for Keeping Your Faucet in Great Shape
Now that your new faucet is up and running, here are a few tips to keep it working perfectly:
- Clean Regularly: Wipe the faucet down with a soft cloth to prevent water spots and mineral buildup.
- Check for Leaks: Inspect the water lines periodically to avoid any surprise water damage.
- Maintain the Aerator: Unscrew the aerator occasionally to clean it and keep the water flow smooth.

Enjoy Your New Kitchen Faucet!
Installing a kitchen faucet yourself isn’t just satisfying – it’s a great way to save money and gain confidence with home projects. Now, every time you turn on the tap, you’ll feel a sense of accomplishment knowing you installed it yourself.
If you have any questions or ran into any hiccups during your installation, leave a comment below! I’d love to hear about your experience and help if you need it.


